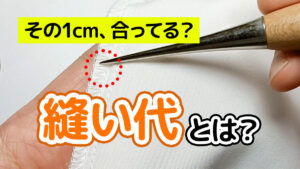
【縫い代の付け方】を徹底解説|ポイントは”直角出し”
ミシンで縫い合わせたら縫い代が足りない…
正しい縫い代の付け方を知りたい!
なんとなく縫い代を付けていると、縫い代が足りなくなってしまう場合があります。
縫い代を綺麗に縫い合わせるには、“直角出し”が大事です。
また、パンツやスカートの裾は、反転させて縫い代を付ける必要があります。
今回は、“直角出し”の方法と“パンツやスカートの裾の縫い代の付け方”を詳しく解説しますので、参考にしていただければ幸いです。
“直角出し”の重要性
洋裁初心者さんは”直角出し”って何?と思われる方も多いと思います。
縫い代を付ける際にきちんと”直角出し”をすることで、以下のメリットがあります。
- 縫い代の過不足がなくなる
- 縫い合わせが楽になる
“直角出し”をすることで、縫い代が余ったり、足りなかったりすることがなくなります。
また、縫い代の角は全て直角に処理するので、縫い代同士も合わせやすくなります。
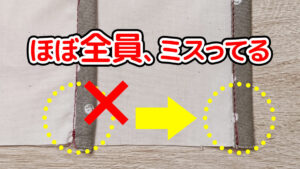
“直角出し”した場合
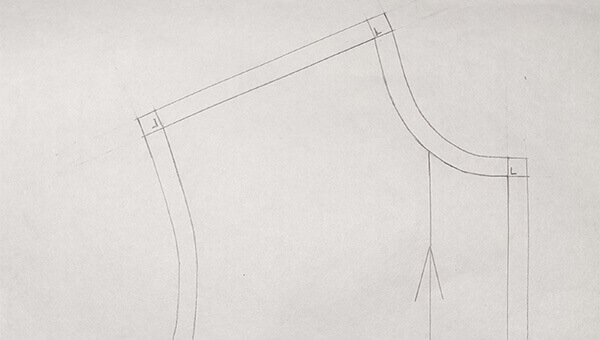
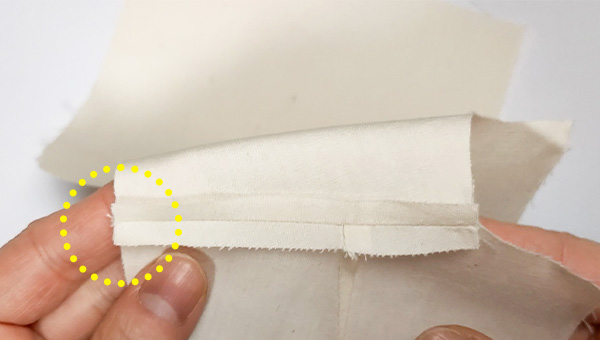
縫い合わせると、縫い代がぴったり揃っています。
“直角出し”していない場合
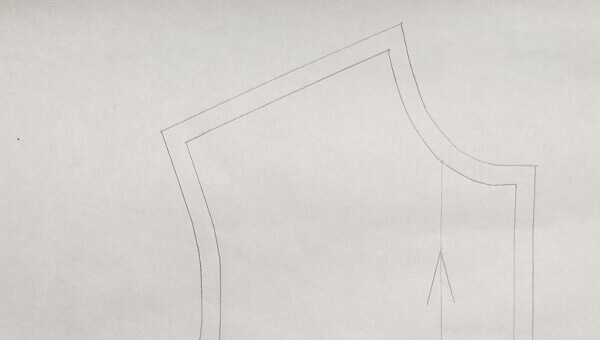
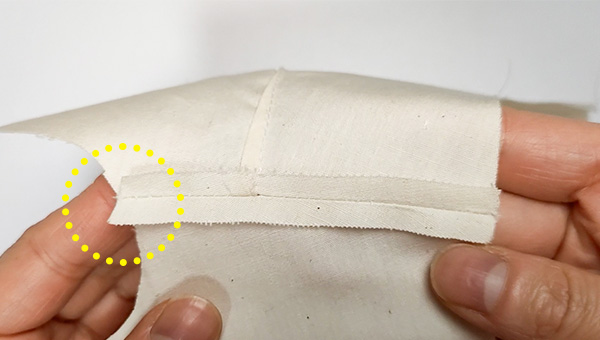
縫い合わせると、縫い代が不足してしまっています。
“直角出し”の方法
それでは、”直角出し”の方法を解説します。
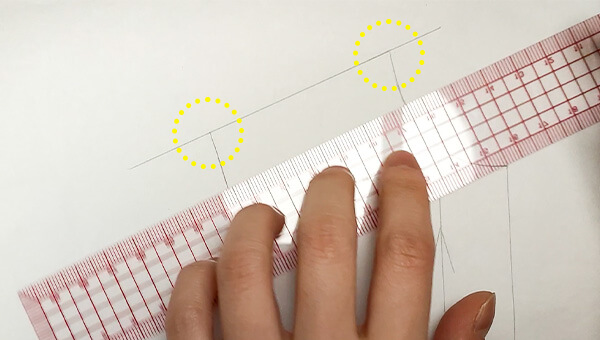
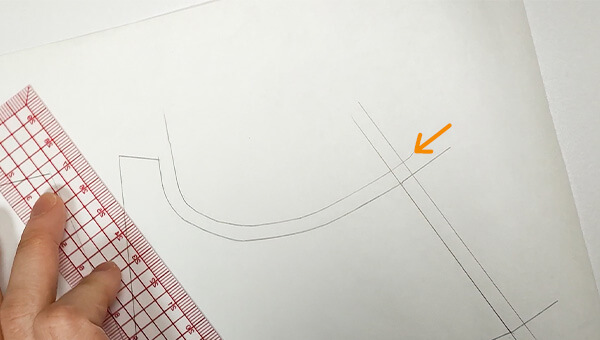
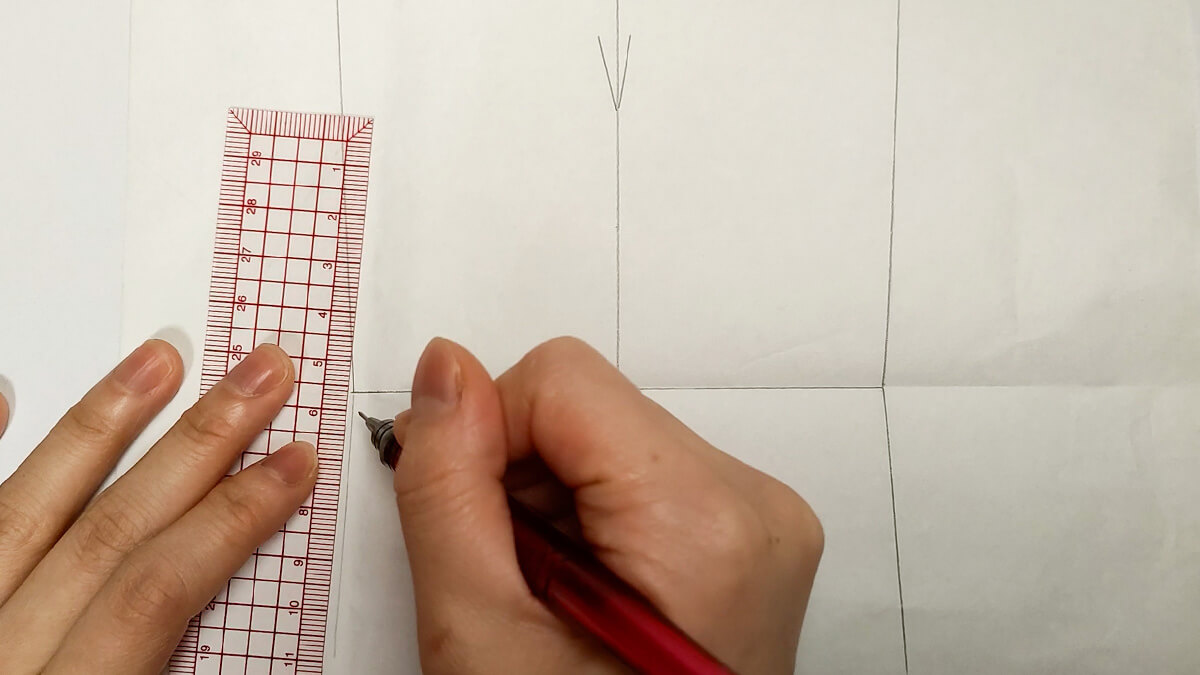
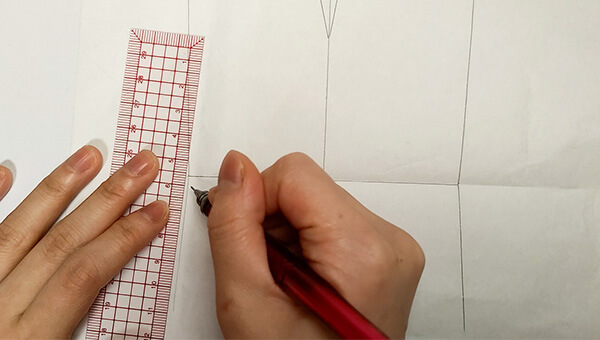
交わった2本の線のうち、先に縫う方の線を延長します。
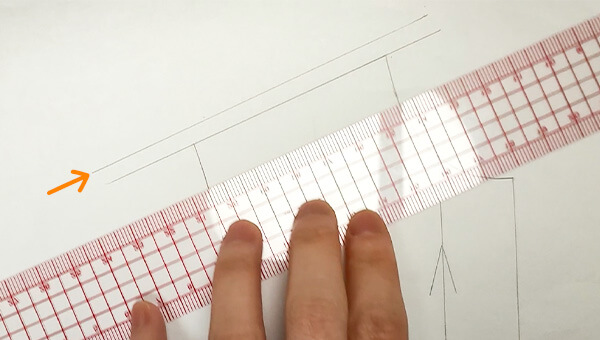
延長した線に対して平行に縫い代を付けます。
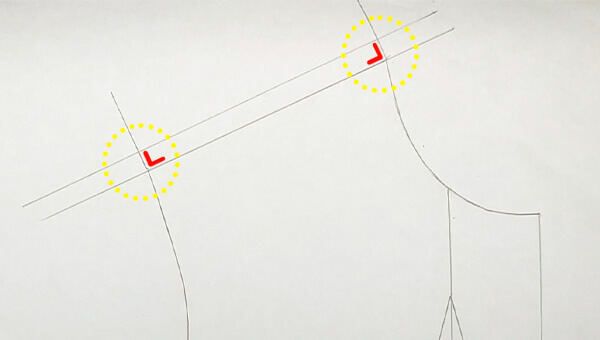
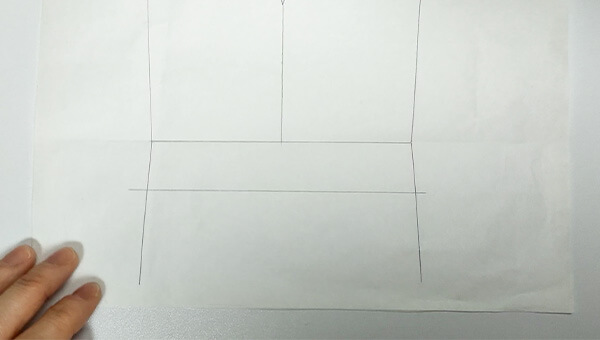
角から直角に線を引きます。
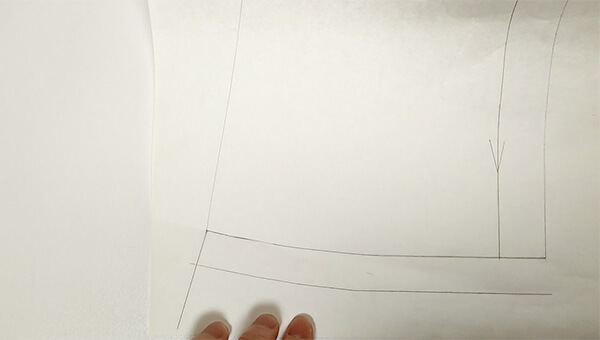
後に縫う方の線も縫い代を引きます。
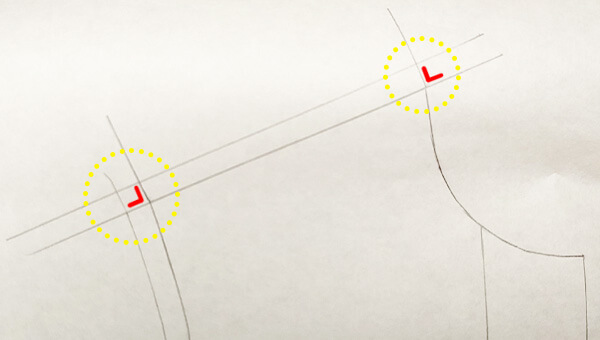
直角処理ができました。
ダーツの縫い代の付け方
ダーツの縫い代の付け方は、以下です。
ダーツを出来上がり線で折りたたみます。
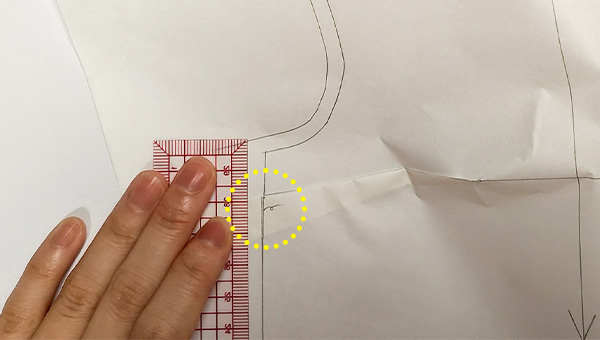
線のつながりが悪い時は、自然な線を引き直します。
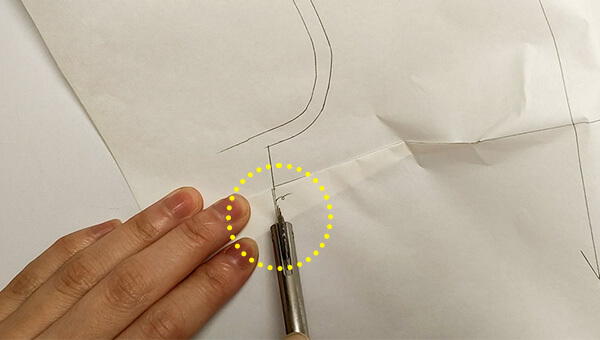
ルレットで出来上がり線に印を付けます。

ルレットの跡をシャーペンで引き直しておきます。
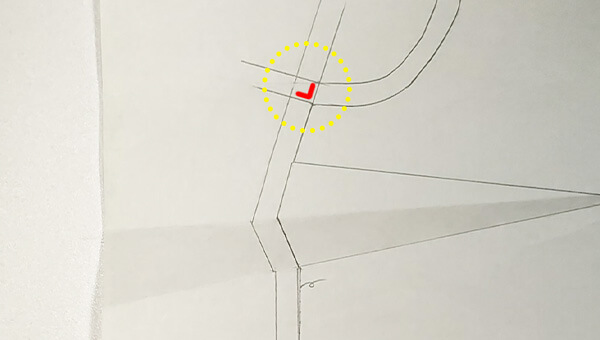
通常通り”直角出し”処理をします。
ダーツの縫い方は、以下の記事で解説しています▼

“パンツの裾”の縫い代の付け方
パンツの縫い代の付け方は、以下です。
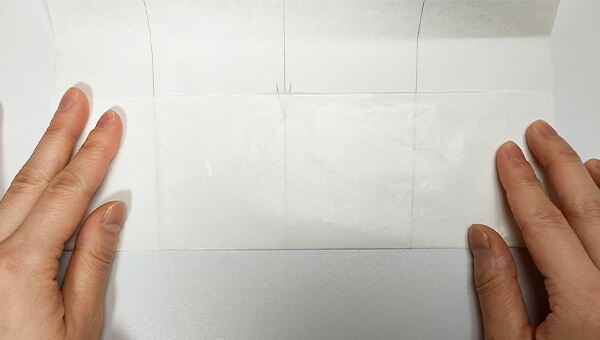
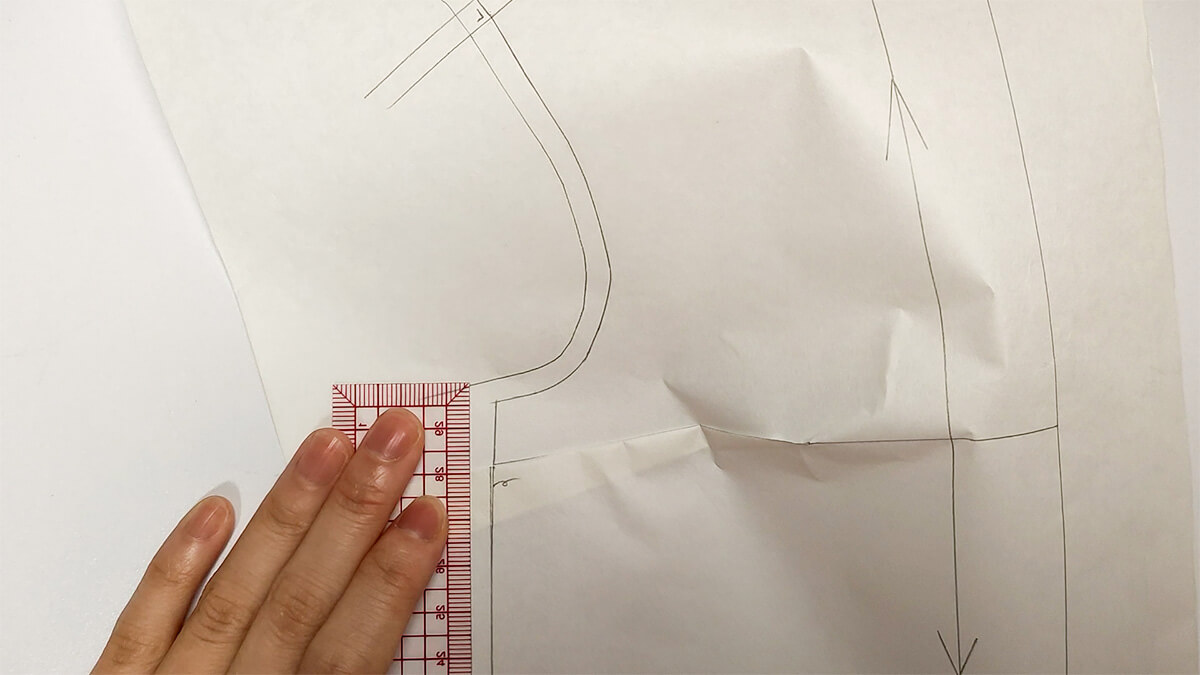
パターンを出来上がり線で折り上げます。
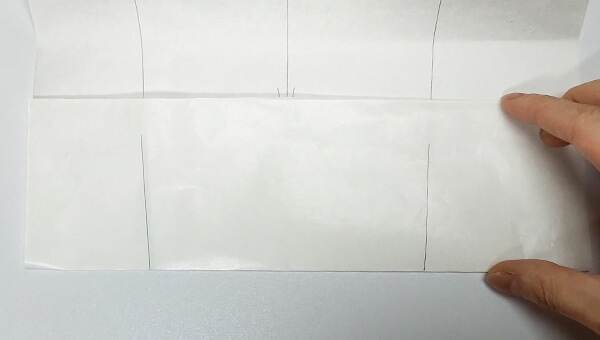
裾の部分の線をシャーペンで写します。
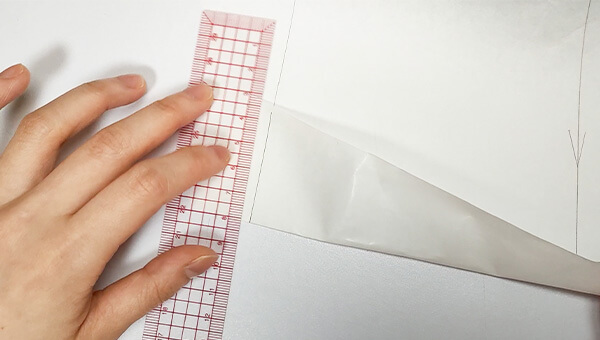
表側も線を写しておきます。
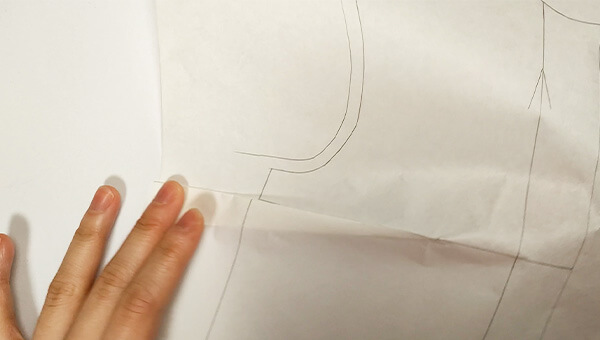
写した線に対して縫い代を付けます。
“スカートの裾”の縫い代の付け方

スカートの縫い代の付け方は、以下です。
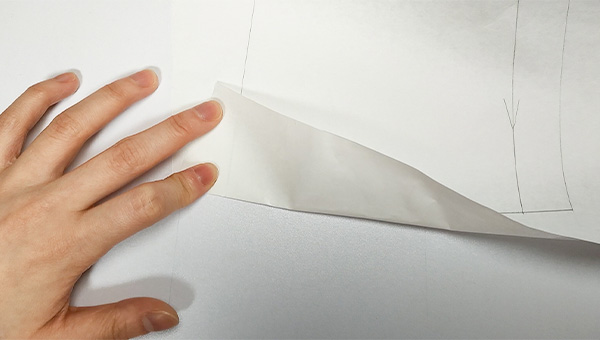
スカートの脇部分のパターンを、出来上がり線で折り上げます。
裾の部分の線をシャーペンで写します。
表側も線を写しておきます。
写した線に対して縫い代を付けます。
まとめ
今回は、”直角出し”の方法と”パンツやスカートの裾の縫い代の付け方”を解説しました。
正しく縫い代を付けることで、縫い代の過不足がなくなり、洋服のクオリティも上がります。
参考にしていただければ、幸いです。
型紙の写し方については、以下の記事で解説しています▼
パターンを独学で学ぶ方法は、以下の記事で紹介しています▼

おすすめの洋裁の通信講座は以下の記事で紹介しています▼


コメント